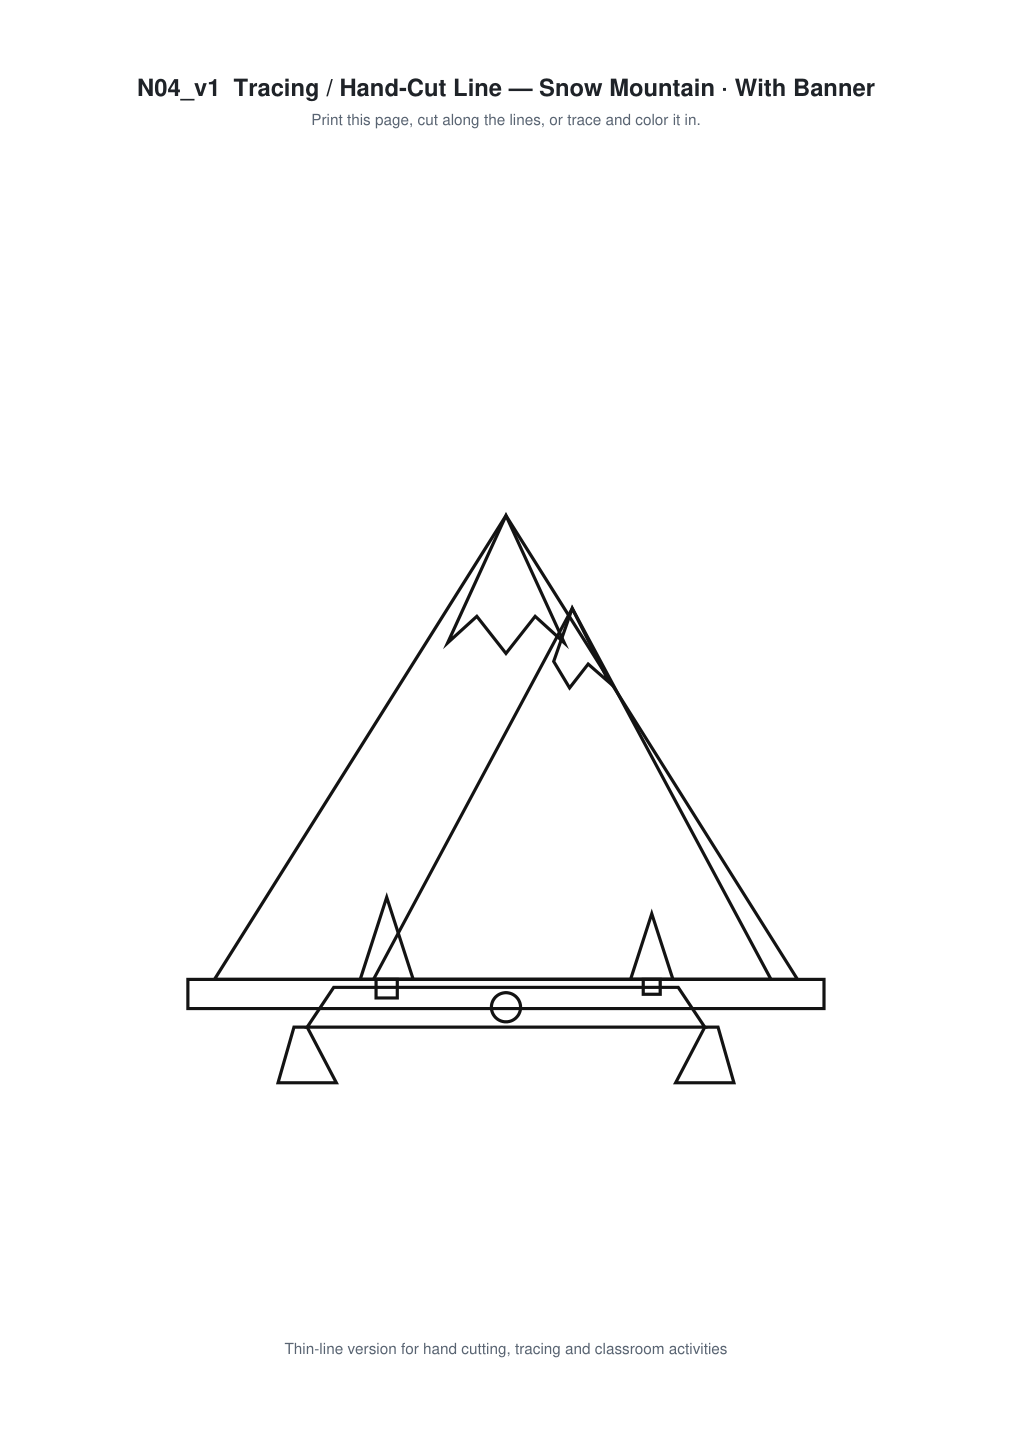
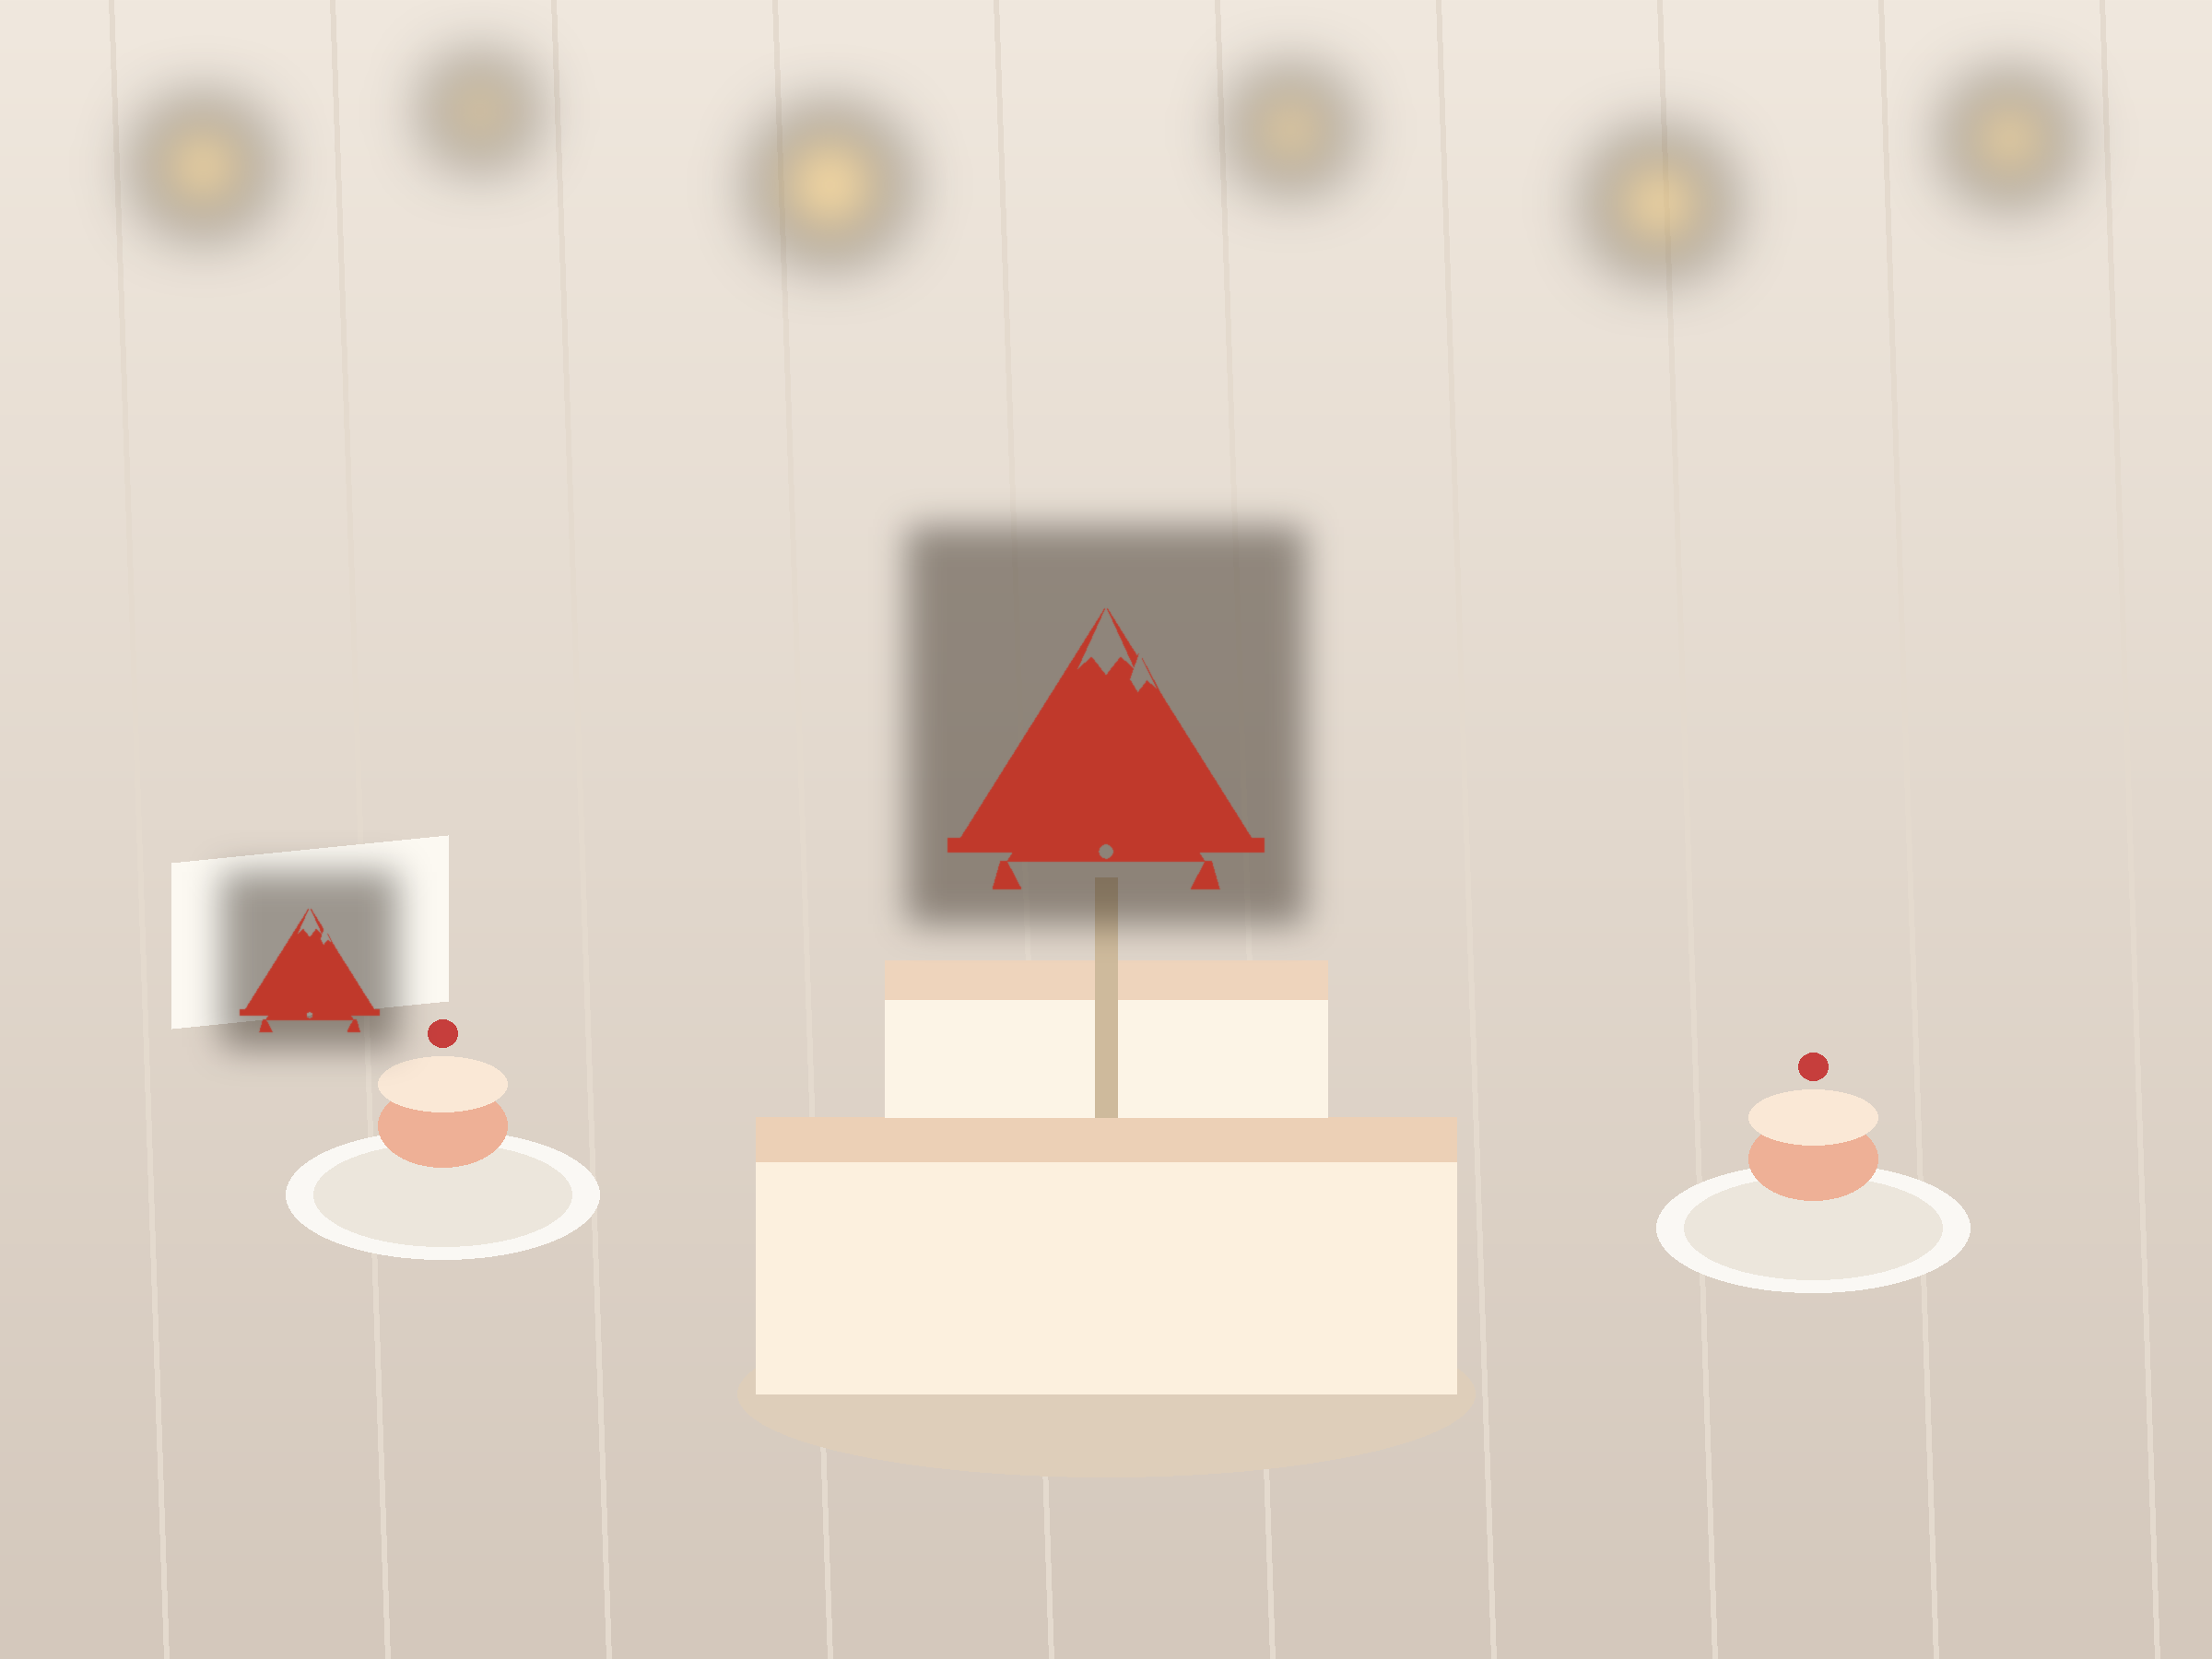
A snow mountain is the widest landscape here – one jagged ridge with snow left as the paper you do not cut away. A ribbon banner crosses the design, leaving room to letter a name, a date or a short greeting by hand.
Free printable & cut-ready · design + line-art sheet · no sign-up
What’s Inside
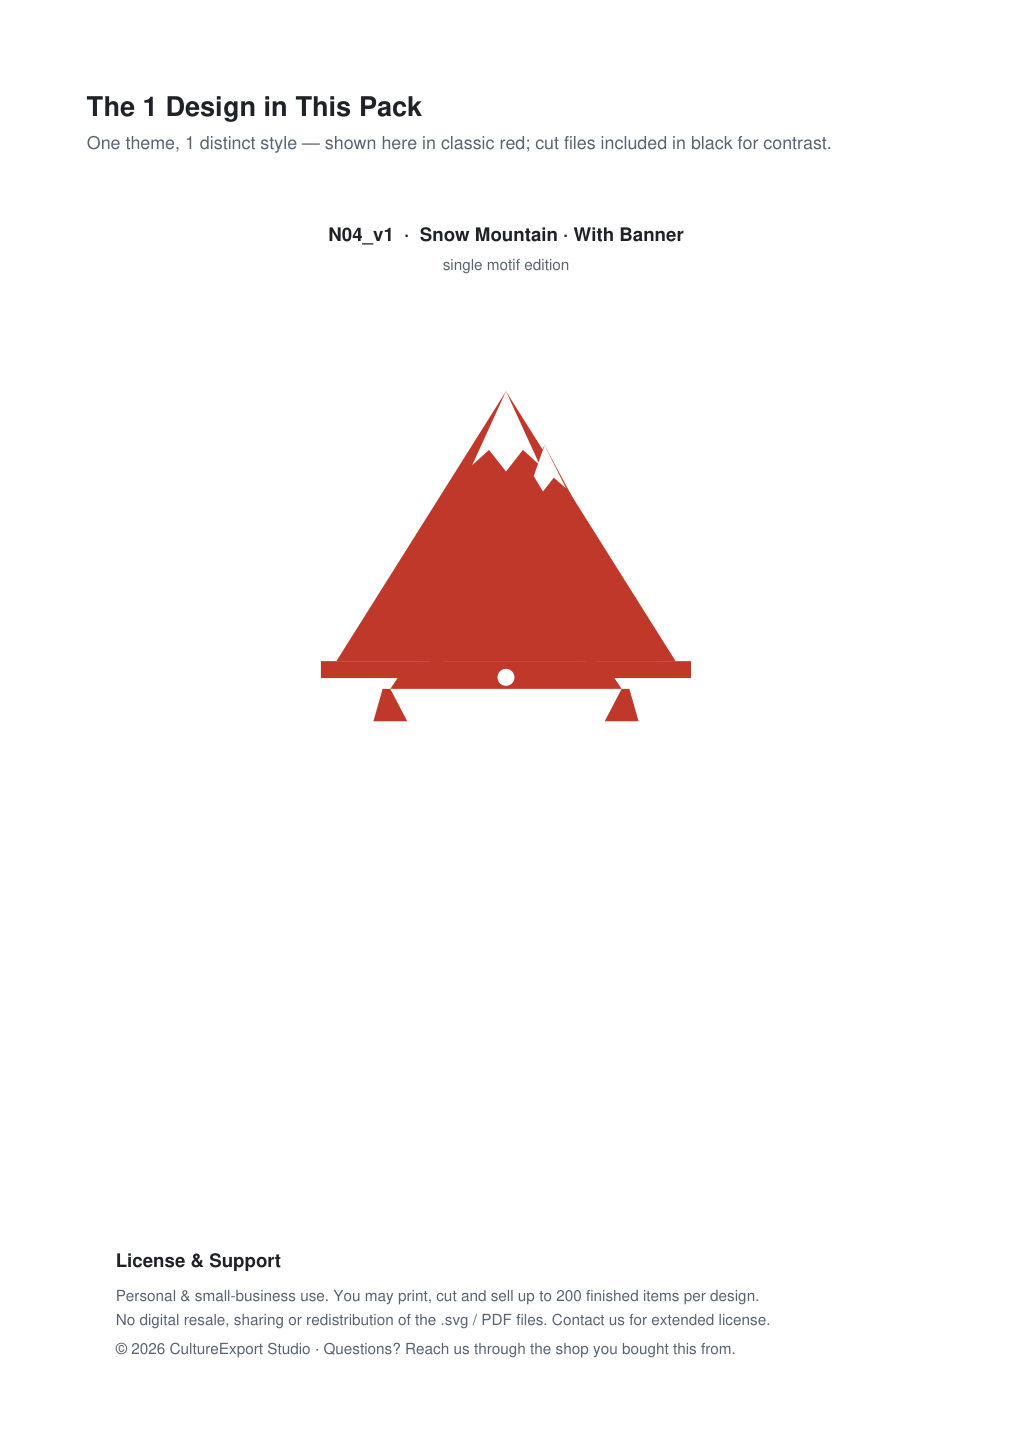
- Snow Mountain · With Banner — a single, bold motif
One ready-to-cut design: Snow Mountain · With Banner. The pack includes the cut-ready file plus a line-art sheet for tracing and colouring. A triangular mass with a broken ridgeline; the snow cap is the negative space above the ridge, so you are really cutting the mountain and leaving the snow behind. Two or three secondary peaks behind the main one give it depth without adding a single extra cut. A ribbon banner crosses the design, leaving room to letter a name, a date or a short greeting by hand.
Three Ways to Use It
1. Cut it with a Cricut or Silhouette
The file is closed-path vector art with no overlapping lines, exactly what cutting software expects. Scale to your cardstock and cut from 80 gsm upward; a fine-point blade handles it cleanly.
2. Cut it by hand
Print at 100%, staple the sheet to a folded square of paper, and cut through both layers. Most people finish in well under half an hour.
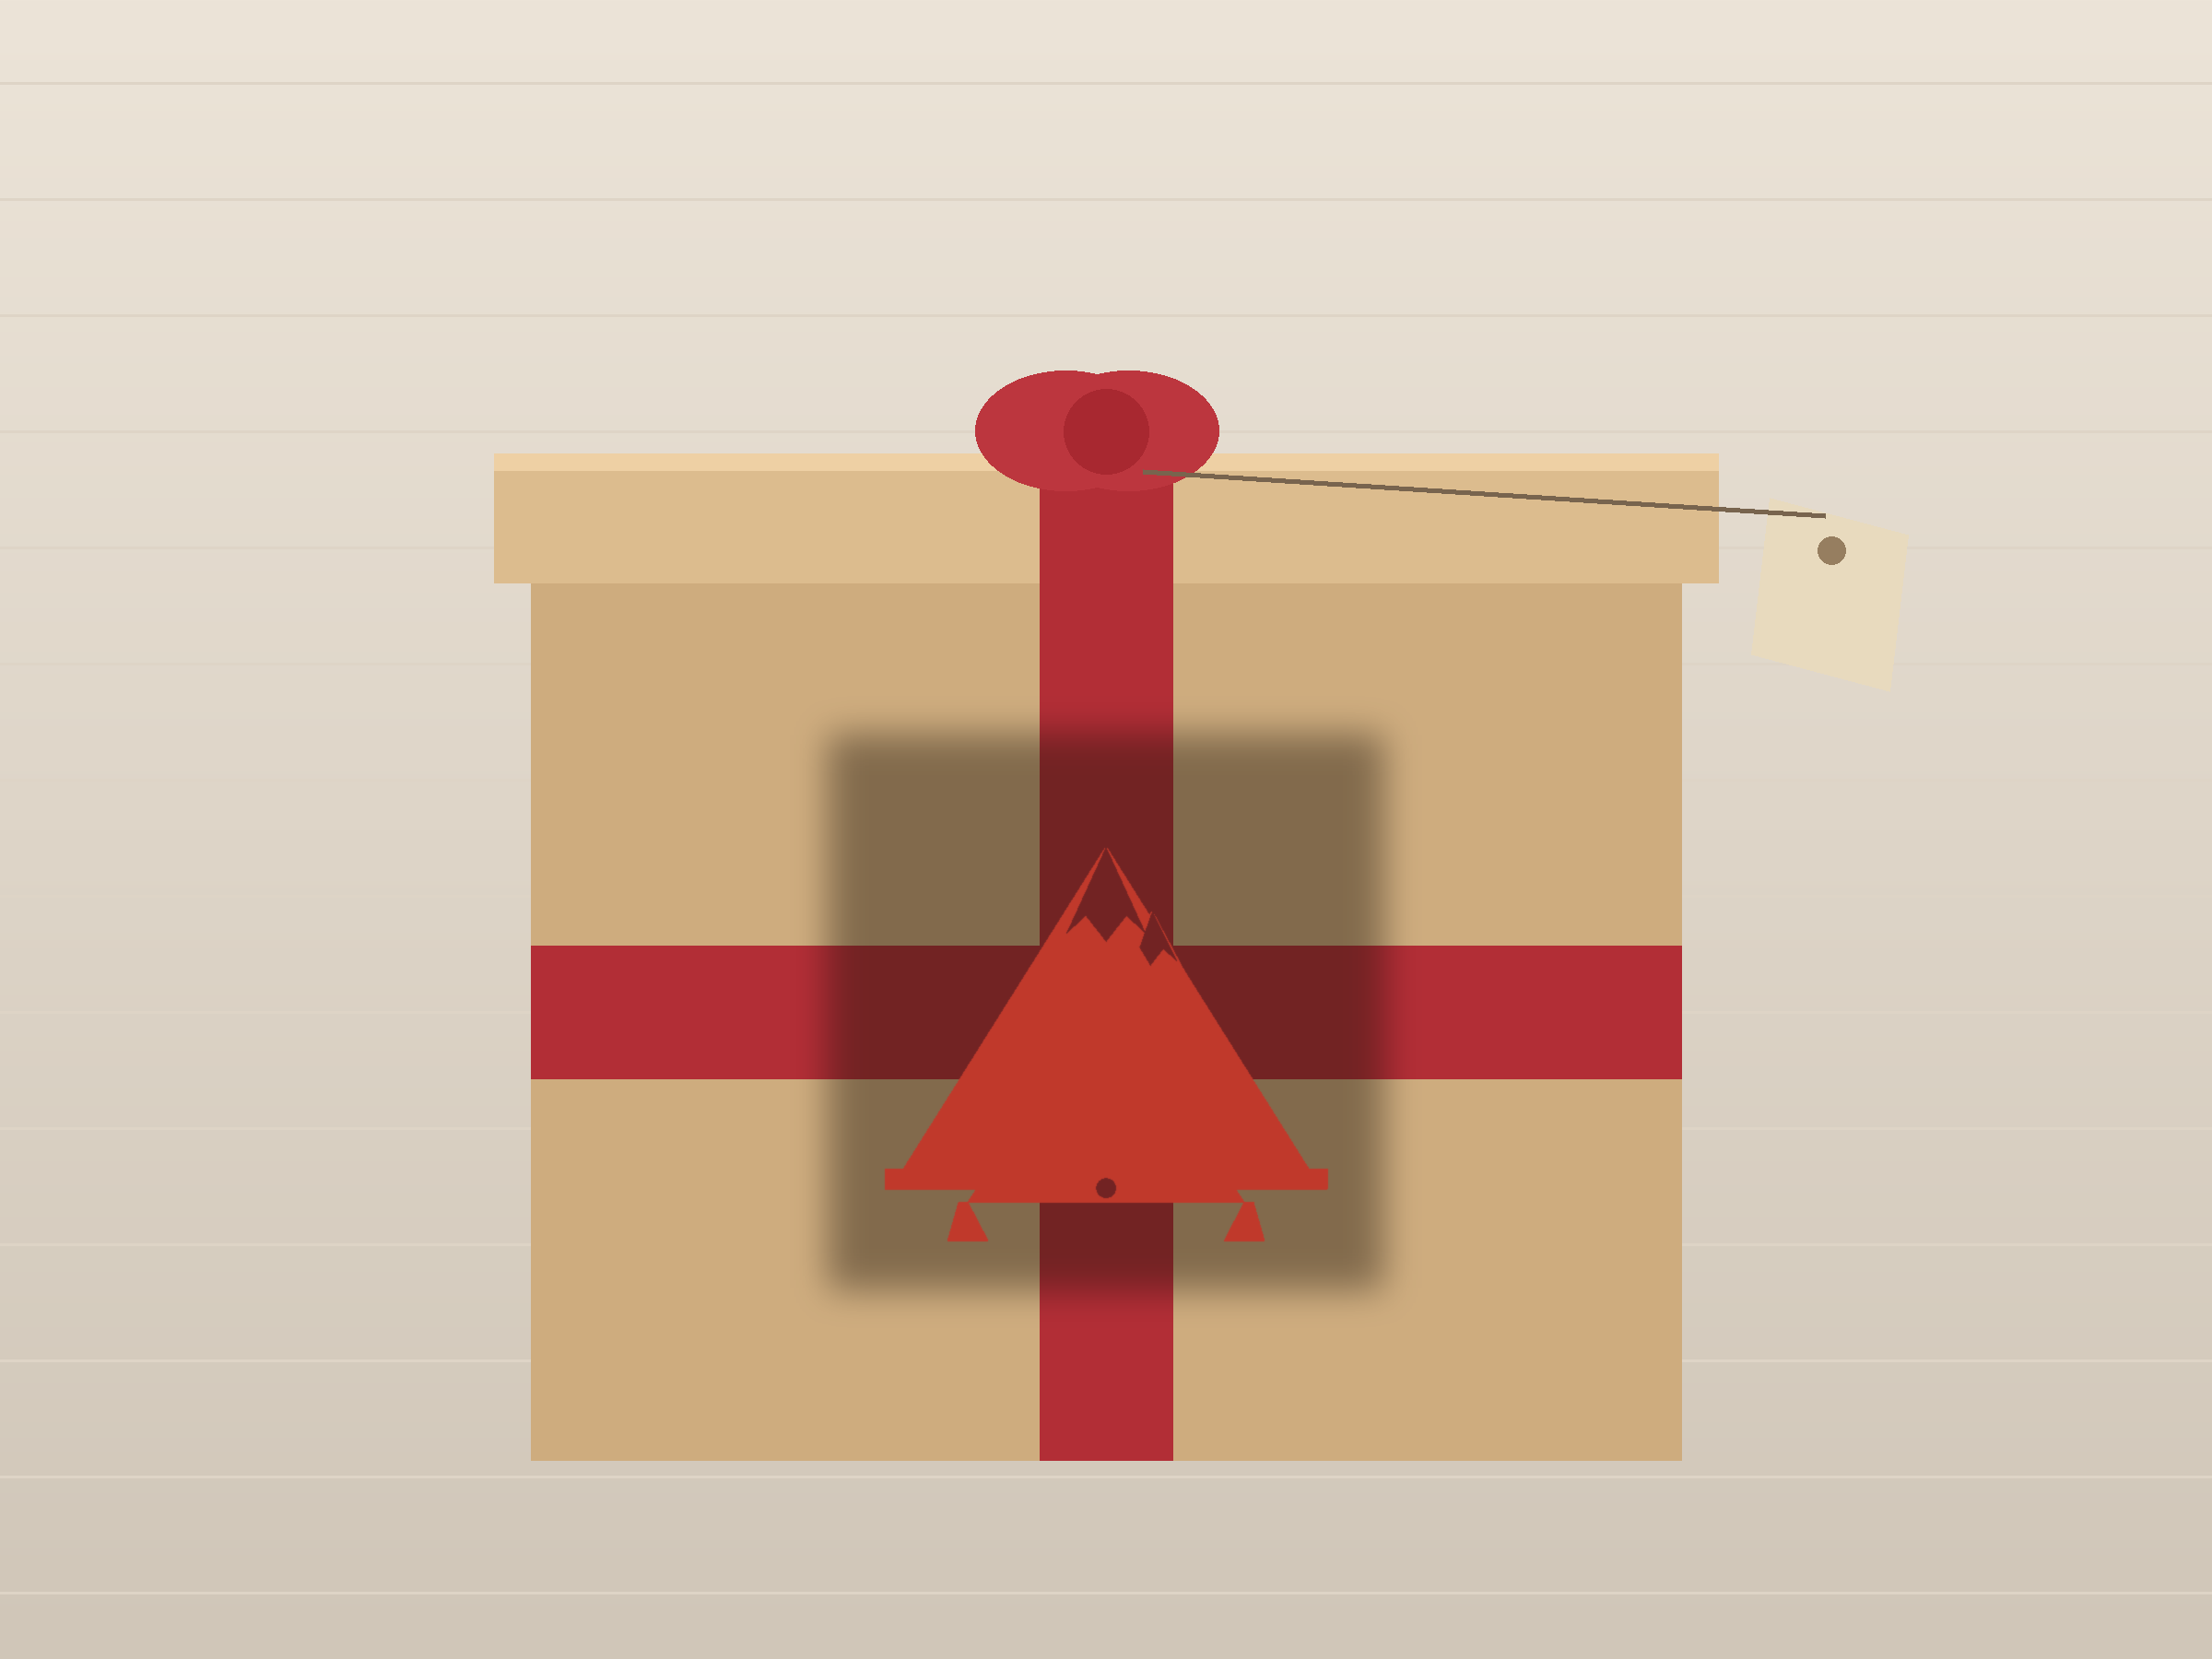
3. Trace and colour
The line-art sheet doubles as a colouring and tracing page, a ready-made activity for classroom or family craft time.
Materials
Red cardstock or origami paper (80–160 gsm) · scissors or a craft knife · a printer · double-sided tape. Add a Cricut or Silhouette if you would rather not cut by hand.
Best For
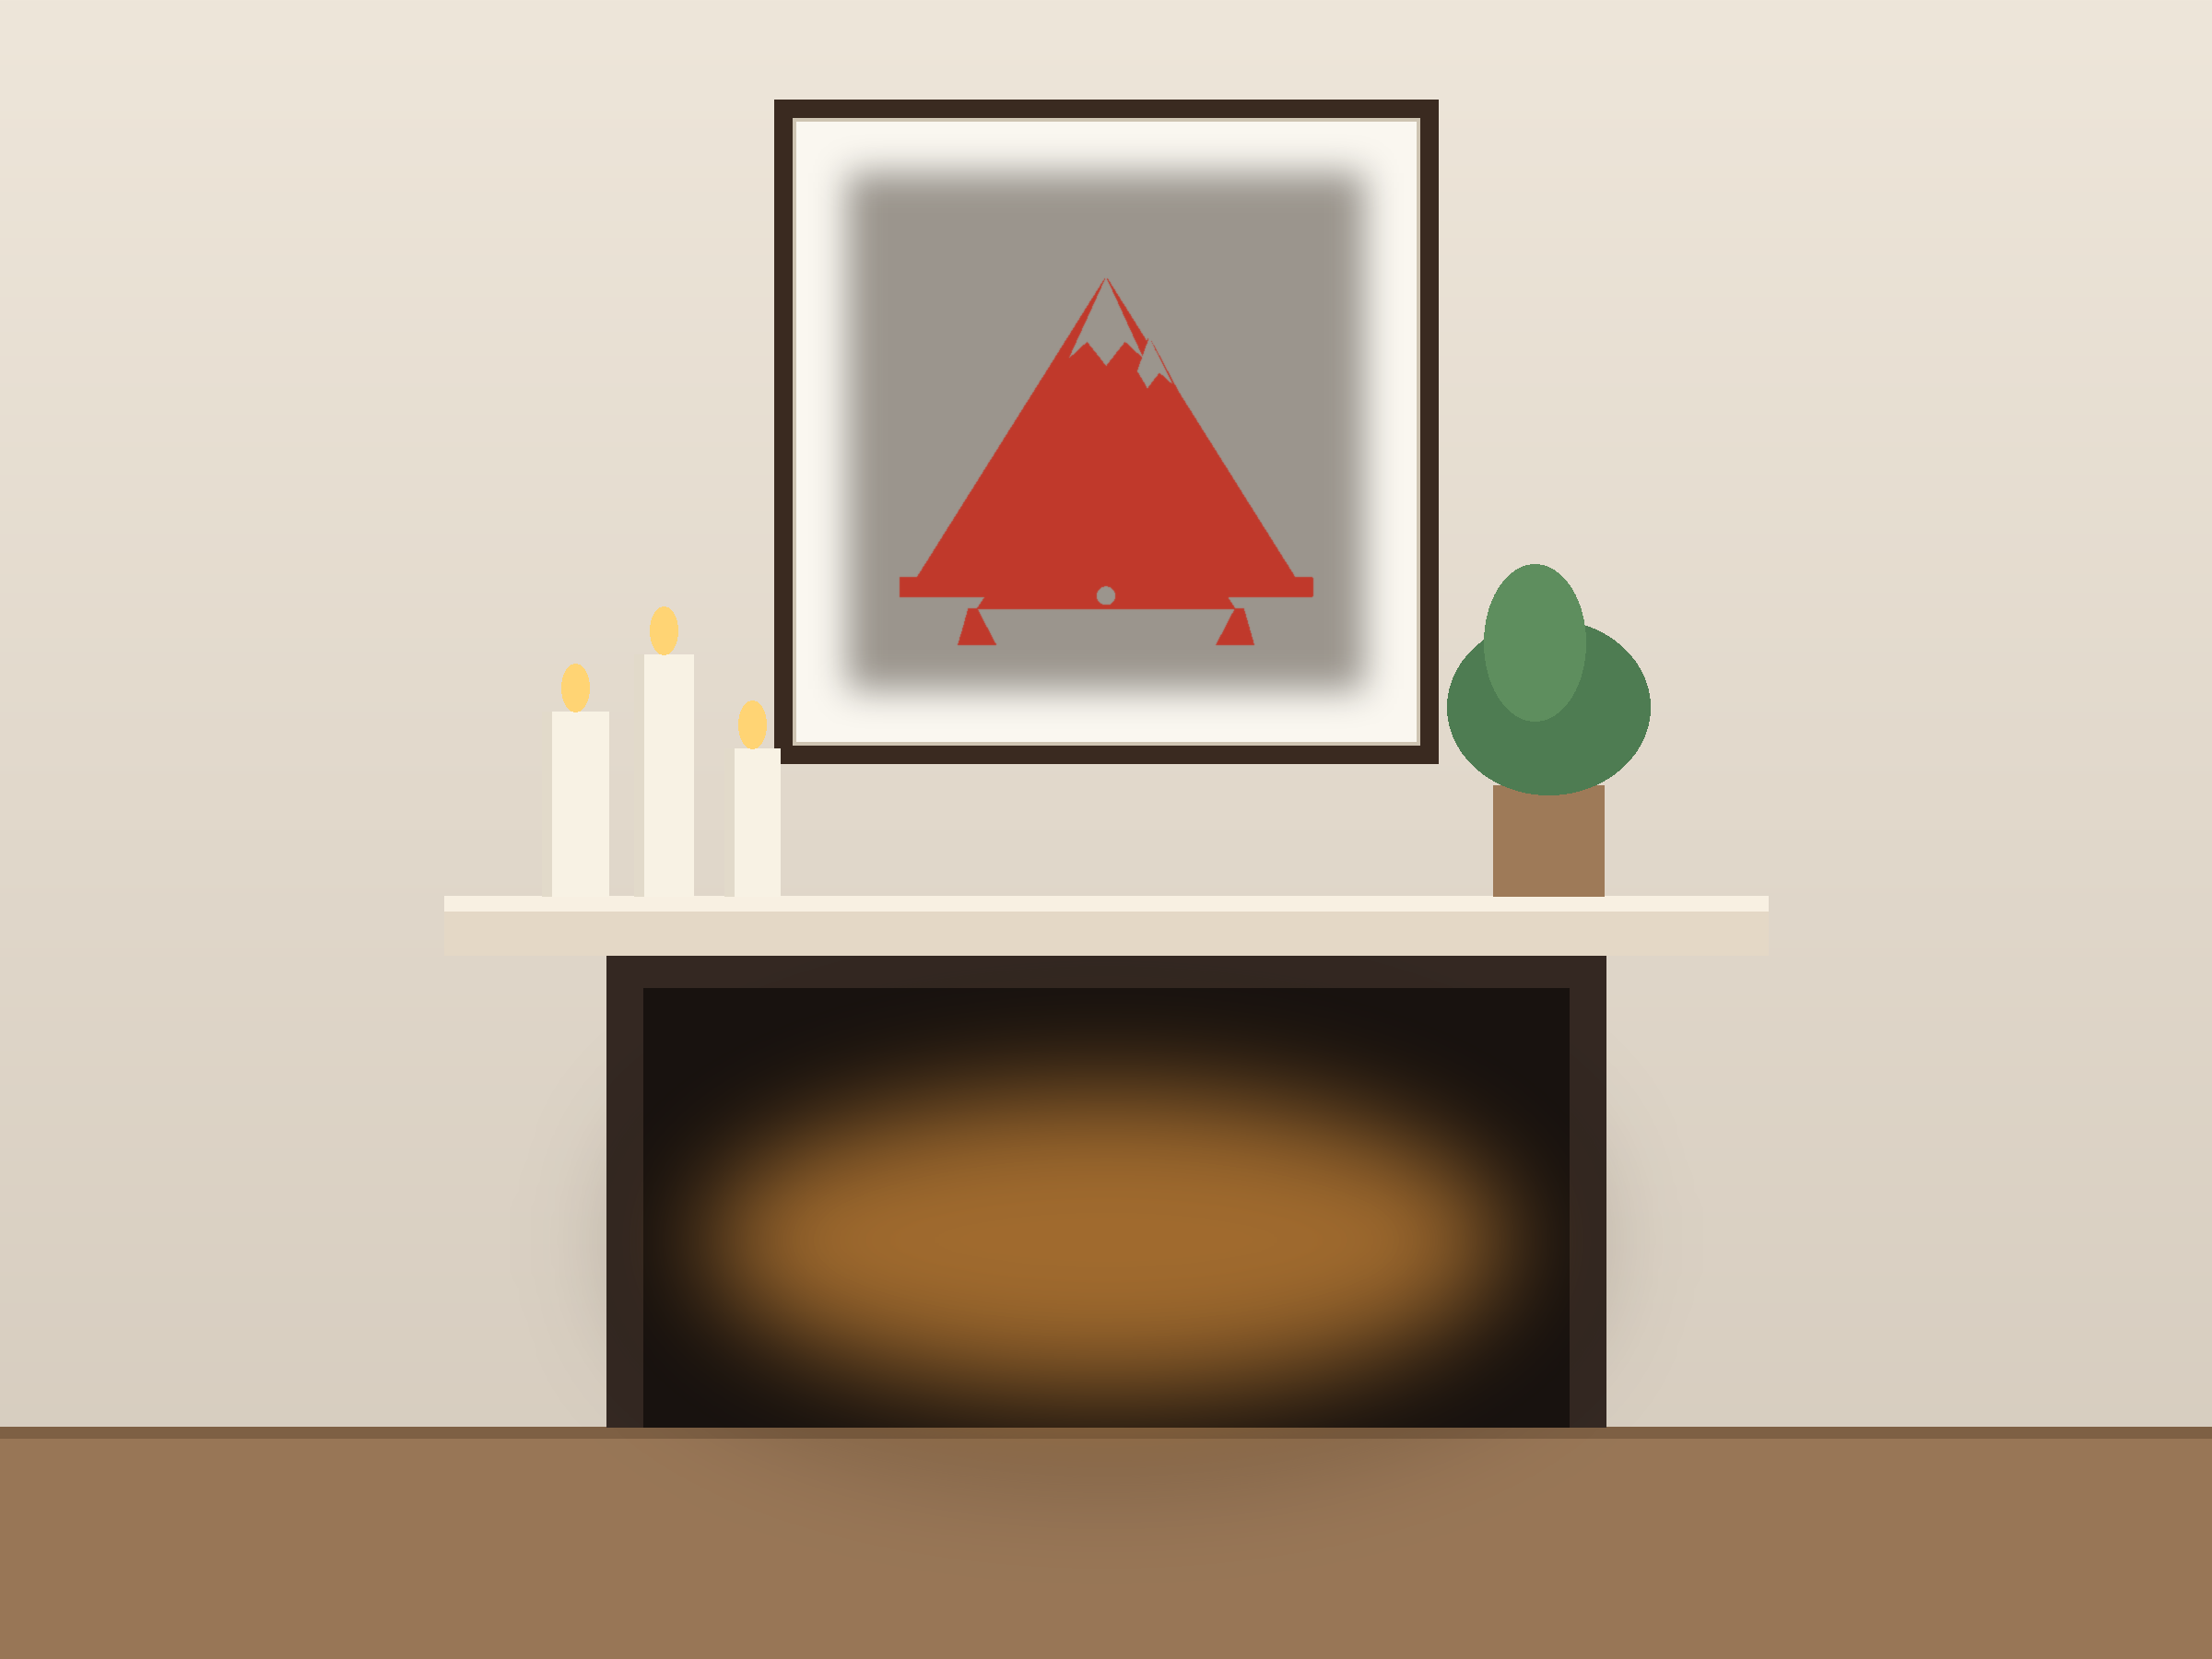
Winter windows, cabin decor, travel-themed rooms and calm, wide wall panels.
FAQ
How do I make the snow? Leave it – the pale paper above the ridge is the snow. A ribbon banner crosses the design, leaving room to letter a name, a date or a short greeting by hand.
Can I layer peaks? Yes – cut a second, smaller ridge behind the first.
What size? 20-28 cm wide reads as a proper range.