Fairy wings on their own are a motif, not a spare part – pair them and they read as a symbol of flight.
Free printable & cut-ready · design + line-art sheet · no sign-up

What’s Inside
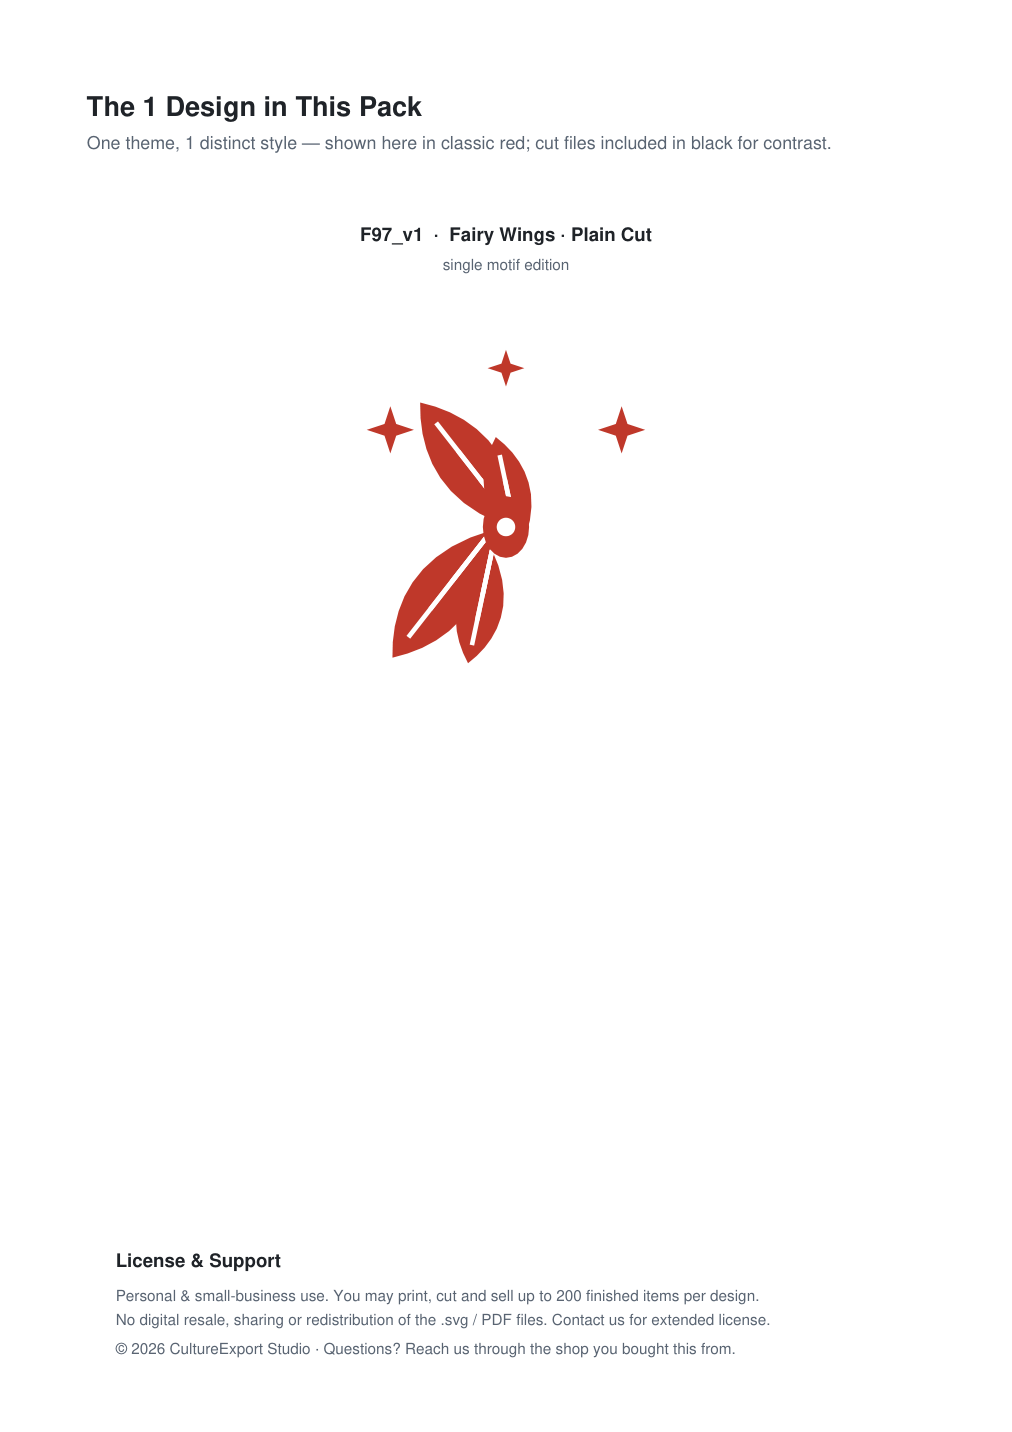
- Fairy Wings · Plain Cut — a single, bold motif
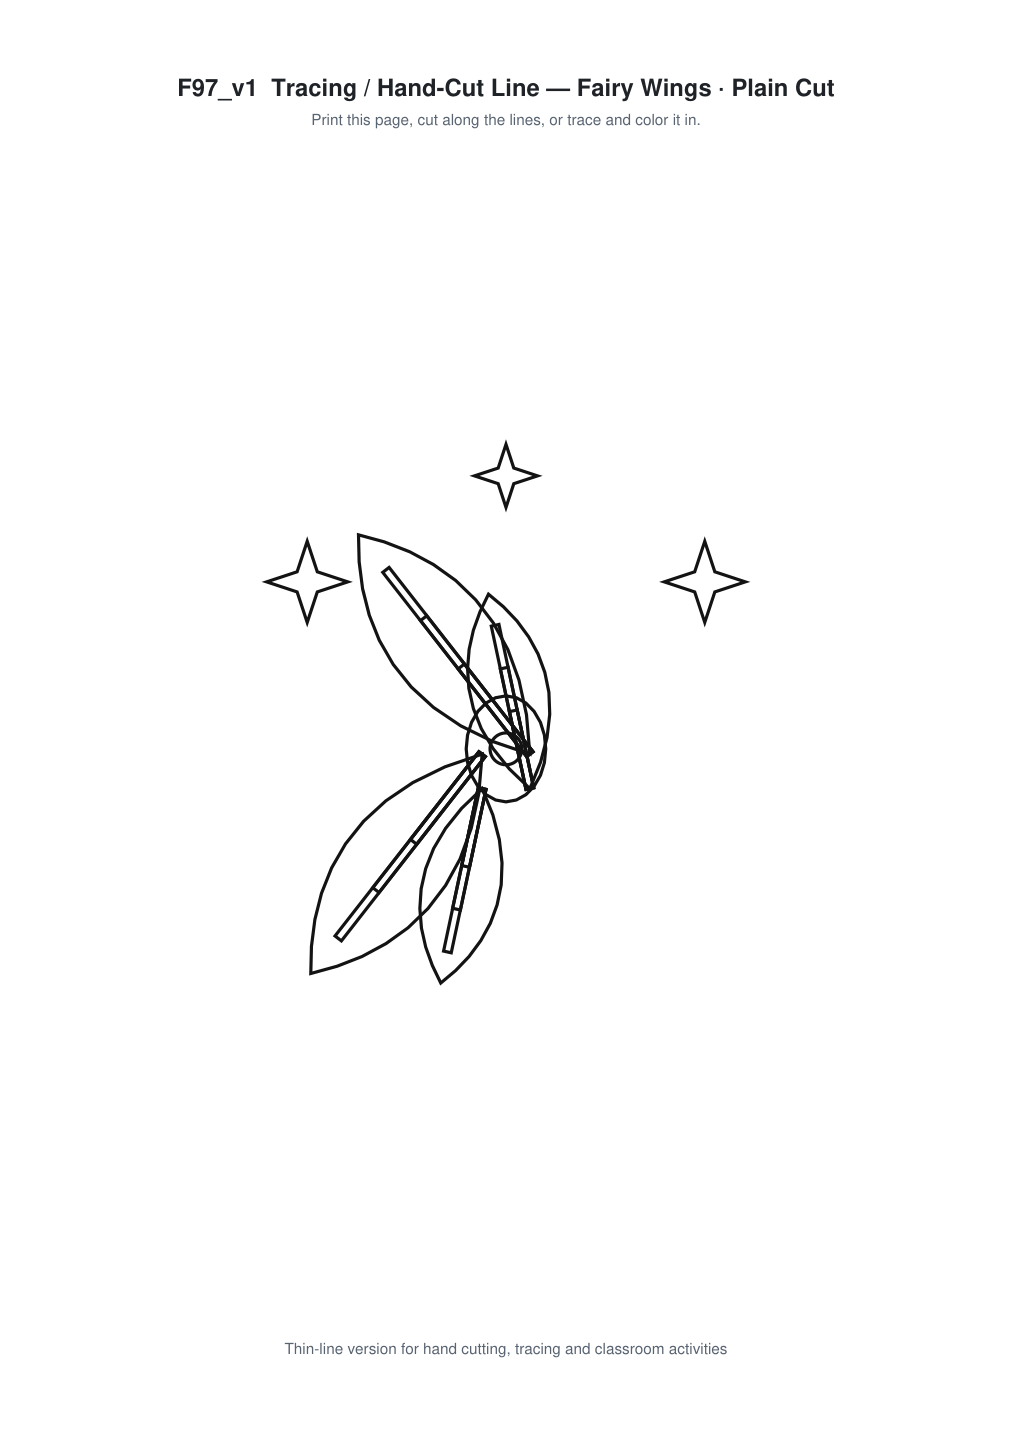
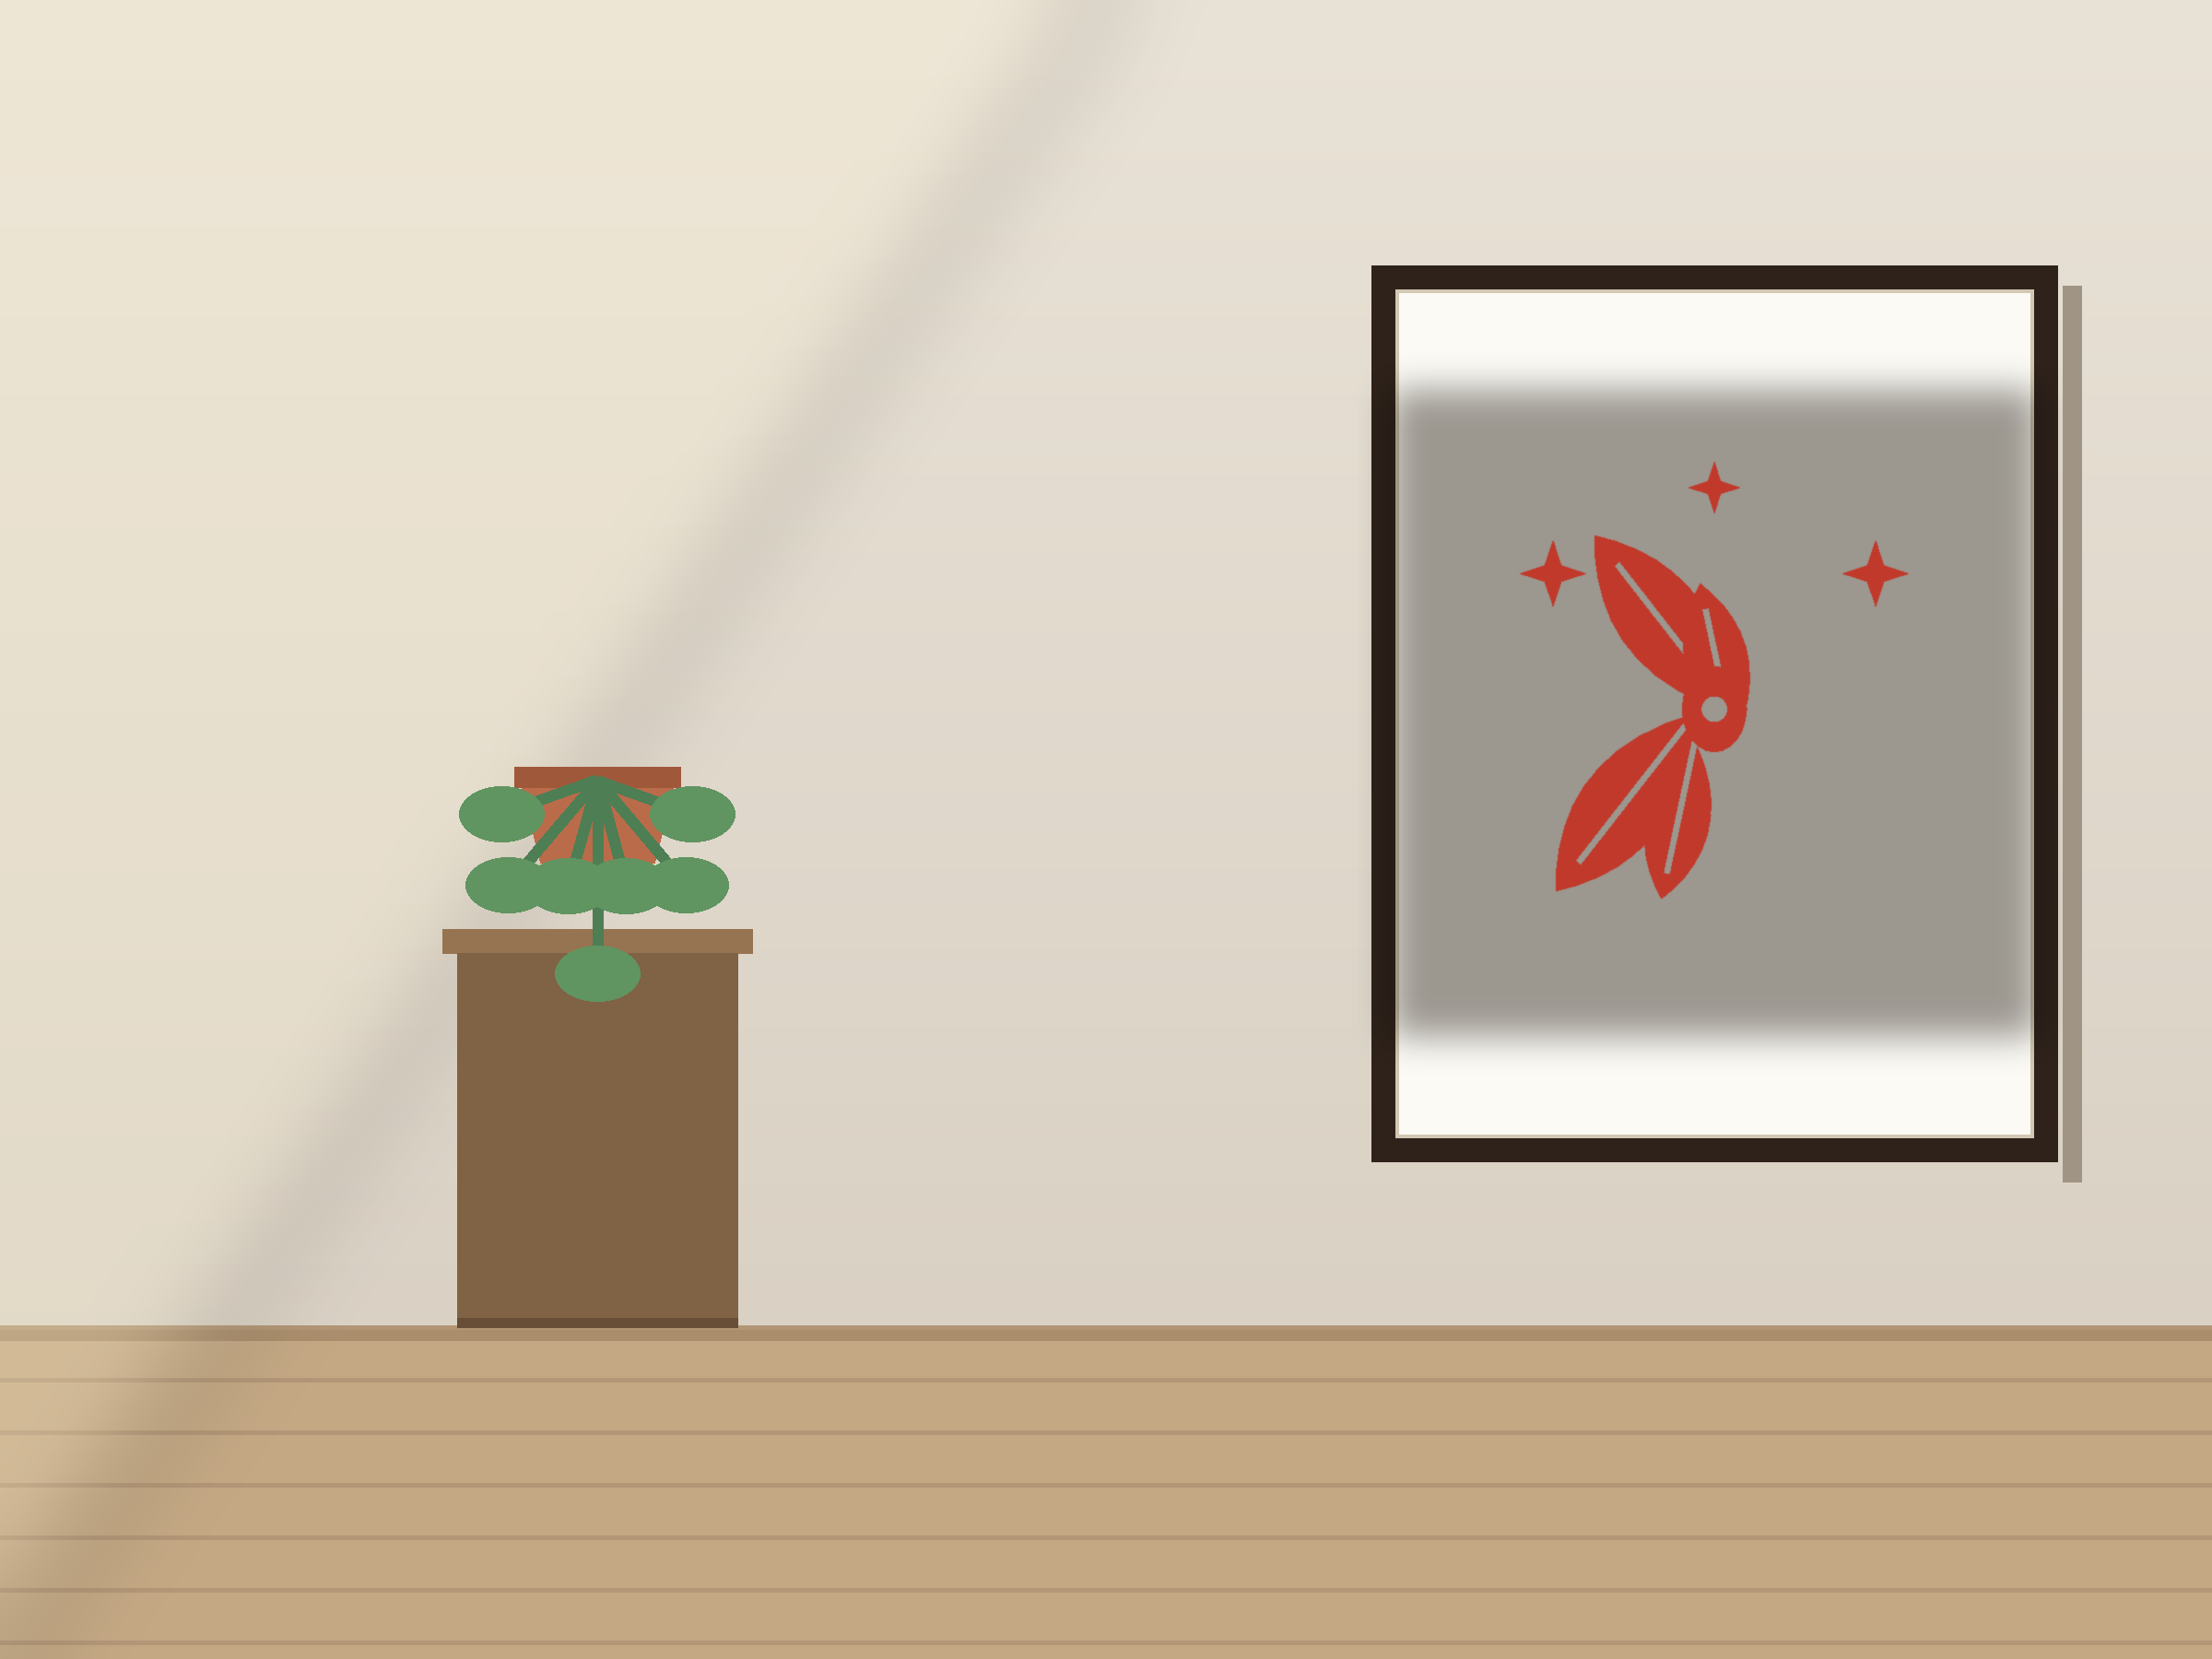
One ready-to-cut design: Fairy Wings · Plain Cut. The pack includes the cut-ready file plus a line-art sheet for tracing and colouring. Two wings mirrored about a centre line, each built from a broad upper lobe and a narrower lower one with a few vein lines. The veins are thin, so cut them last, working from the outer edge inward.
Three Ways to Use It
1. Cut it with a Cricut or Silhouette
The file is closed-path vector art with no overlapping lines, exactly what cutting software expects. Scale to your cardstock and cut from 80 gsm upward; a fine-point blade handles it cleanly.
2. Cut it by hand
Print at 100%, staple the sheet to a folded square of paper, and cut through both layers. Most people finish in well under half an hour.
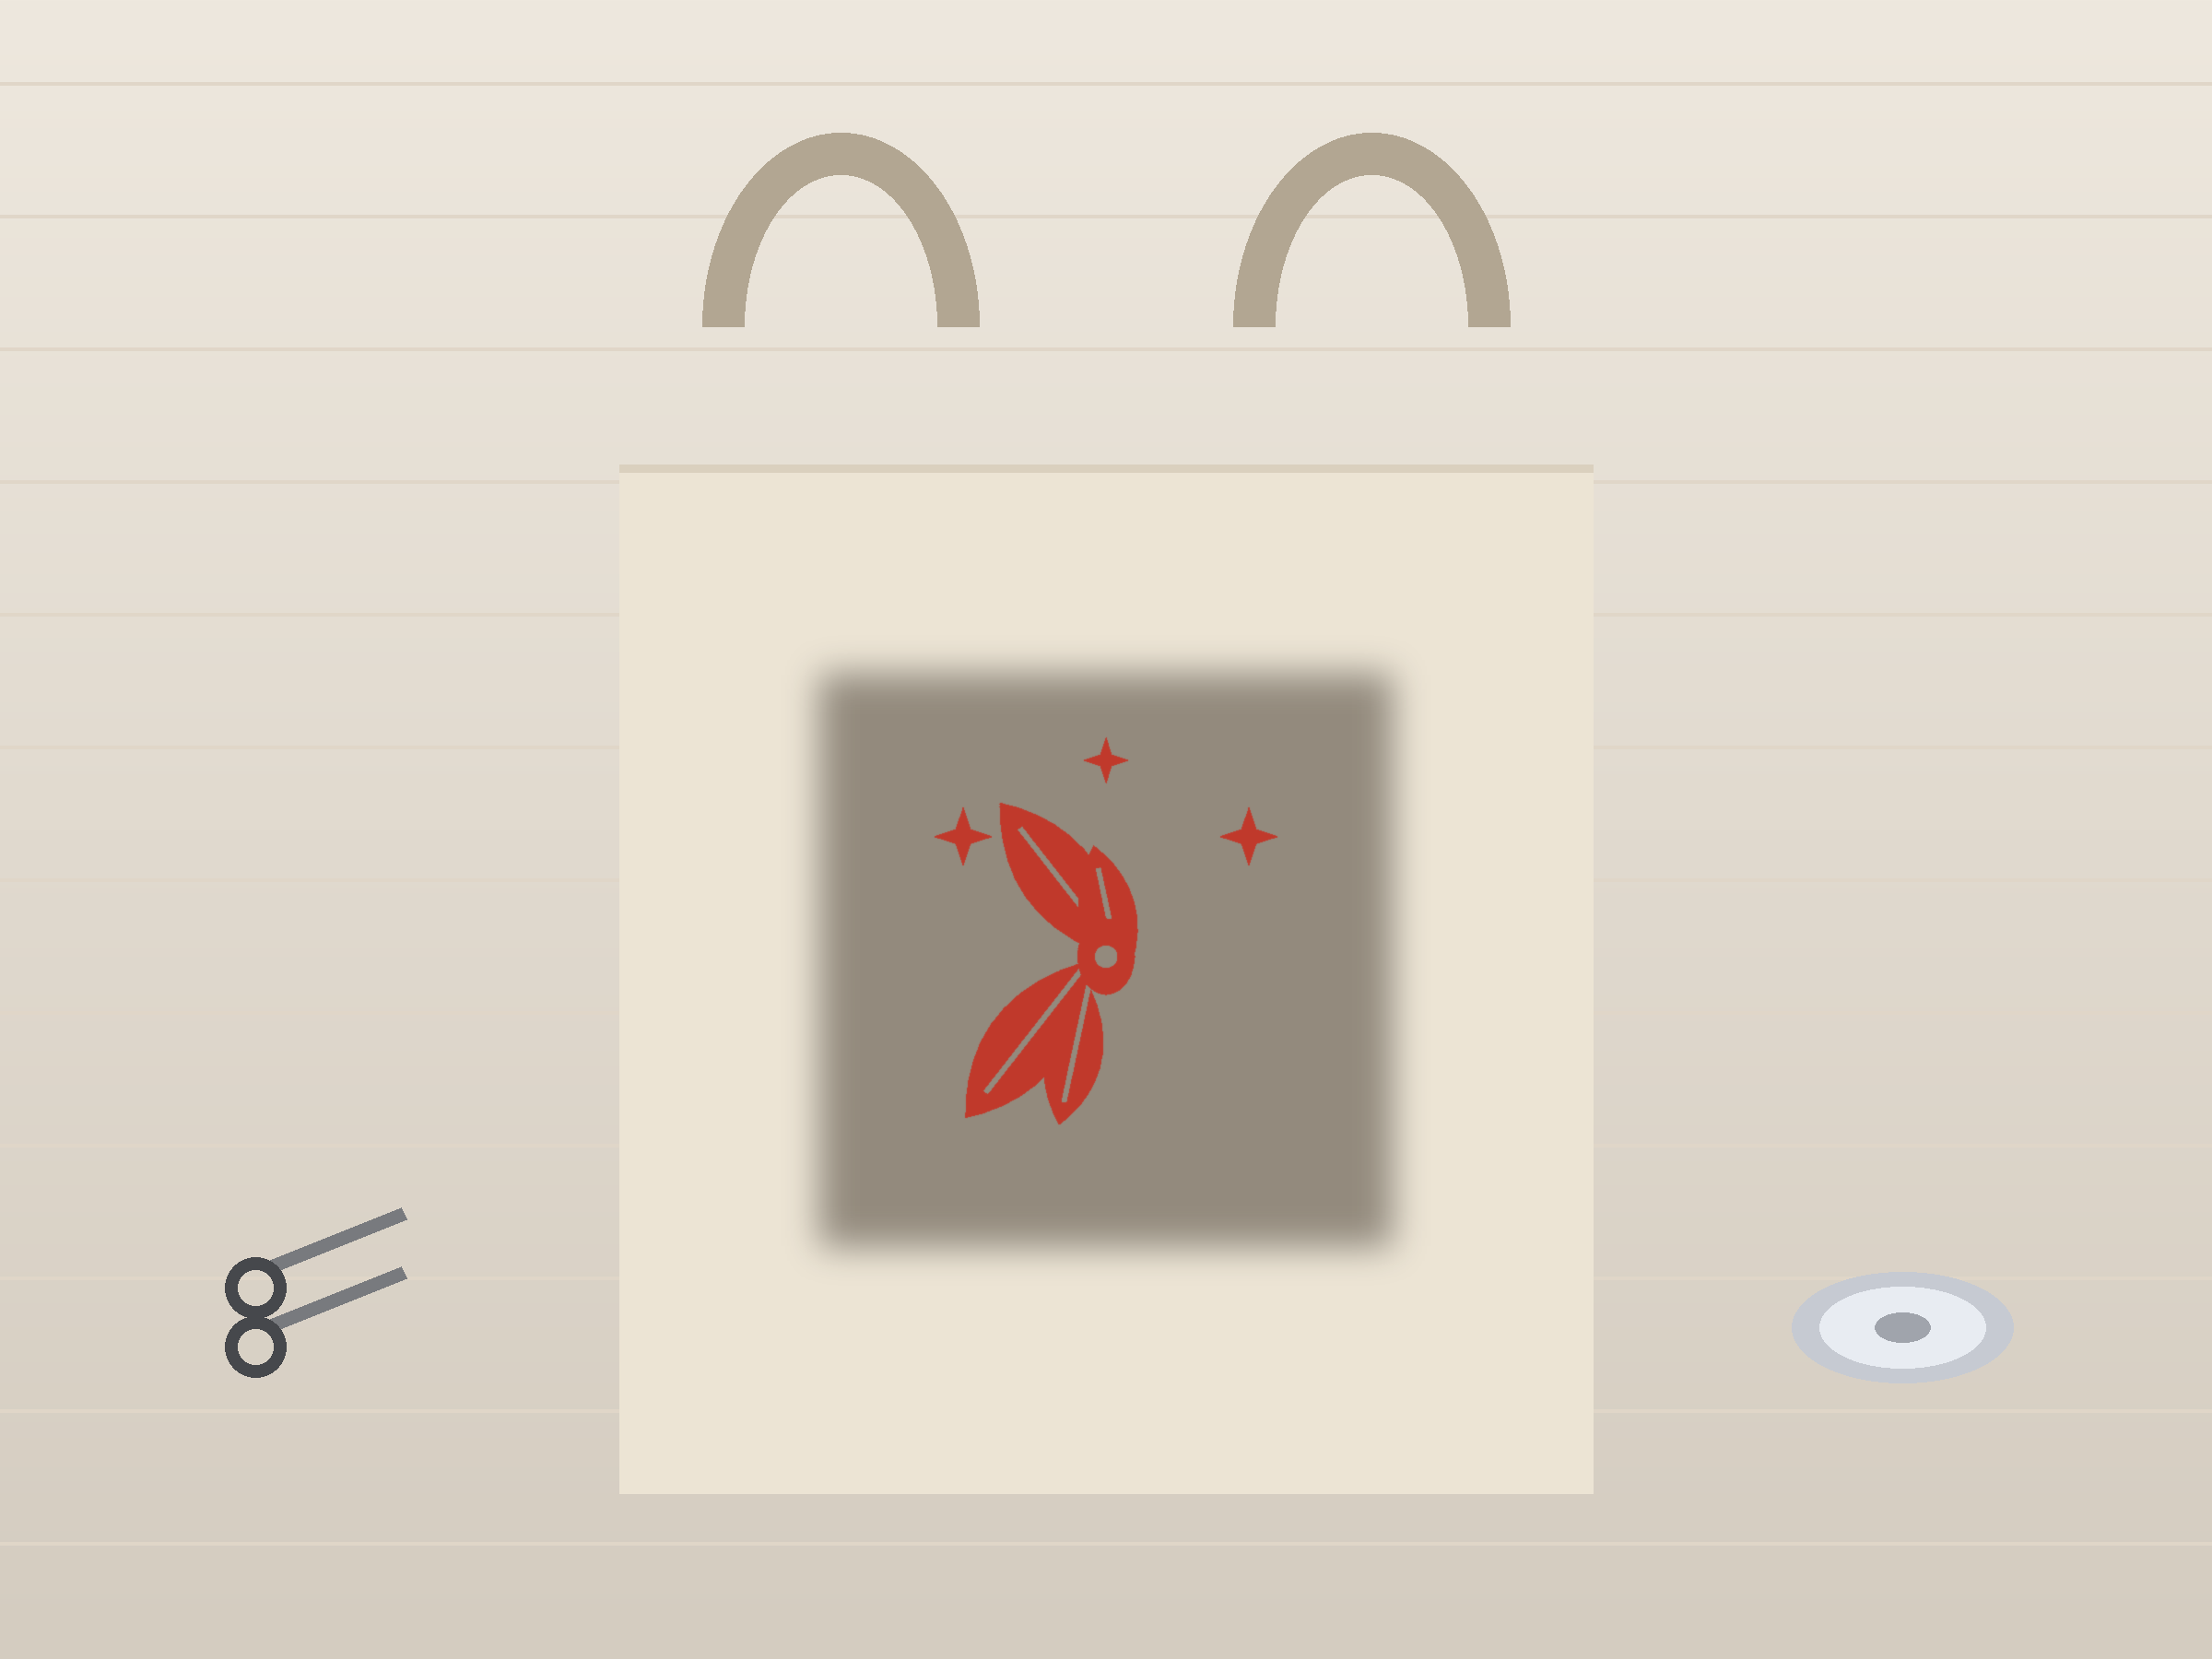
3. Trace and colour
The line-art sheet doubles as a colouring and tracing page, a ready-made activity for classroom or family craft time.
Materials
Red cardstock or origami paper (80–160 gsm) · scissors or a craft knife · a printer · double-sided tape. Add a Cricut or Silhouette if you would rather not cut by hand.
Best For
Nursery walls, costume decor, gift toppers and as a frame for a name.
FAQ
Are the veins fragile? Use 140 gsm and cut them last – they are the delicate part.
Can a name go between them? Yes – that gap is designed for lettering.
What size? 16-24 cm across the pair.